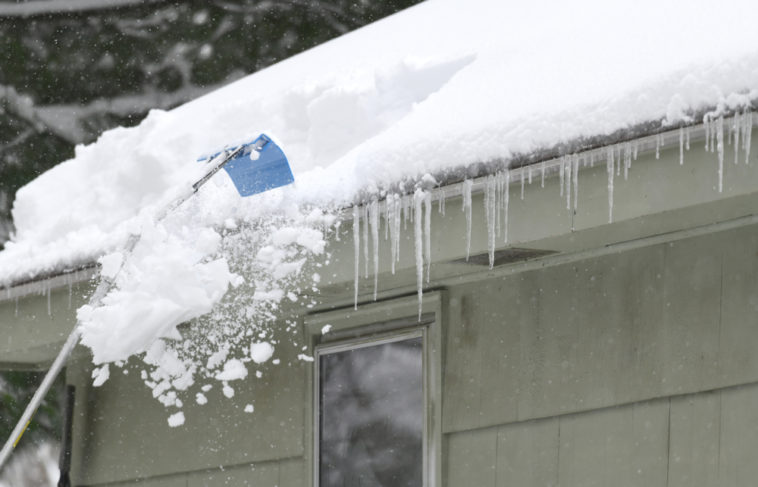
While a snowy roof may look nice and put you in the holiday spirit, having too much snow on your roof can put your home’s safety at risk.
Any work that has to do with your roof can be dangerous, so it’s important to ensure that it’s done right. One of the most dangerous roof jobs is roof snow removal, but it has to get done if you want your home to be safe.
So how do you go about roof snow removal safely? Keep reading to learn everything you need to know about roof snow removal to do it safely and ensure that your roof stays in good shape all winter long.
When to Remove Snow From Your Roof
Before discussing how to remove snow from your roof, it’s important to know when to remove snow from your roof.
While some people think snow should never be on your roof and should always be removed as soon as possible, this isn’t necessarily true. It’s safe to have some snow accumulate on your roof from time to time, and it may be better to leave it there than to remove it.
First, removing snow from your roof is dangerous, so taking that risk unnecessarily every time it snows leads to more danger for yourself. Moreover, snow removal can cause damage to your shingles, so it’s best only to do it when absolutely necessary.
In general, newer roofs can take quite a bit of snow. These days, most roofs can handle 20 to 40 pounds of snow, although that number can change depending on whether the snow is powdery or packed with moisture. This translates to a couple of feet of snow, but once it looks like your roof carries heavy snow loads of four feet or more, it’s probably time to do something about it.
However, before deciding that it’s time to handle your roof yourself, consider these other factors that may relieve the snow from your roof naturally:
- If your roof has a steep pitch, the snow may fall off easier than on a flat roof.
- Check the weather forecast for the coming days. If it’s supposed to warm up enough for the snow to melt, you may be better off waiting for that to happen to allow the snow to run off naturally.
There are several reasons it’s essential to conduct roof snow removal when the snow on your roof becomes too much.
While it creates that winter wonderland feel for your home, snow can destroy your roof. The main effect it can have is roof leakage, which causes water to leak into your home. But that isn’t the worst of it – if uncontrolled, roof leakage may eventually collapse your entire roof, creating a dangerous situation for your whole family.
Luckily, removing snow from your roof is possible and feasible if done correctly. Let’s take a look at how to go about roof snow removal.
How to Remove Snow From Your Roof
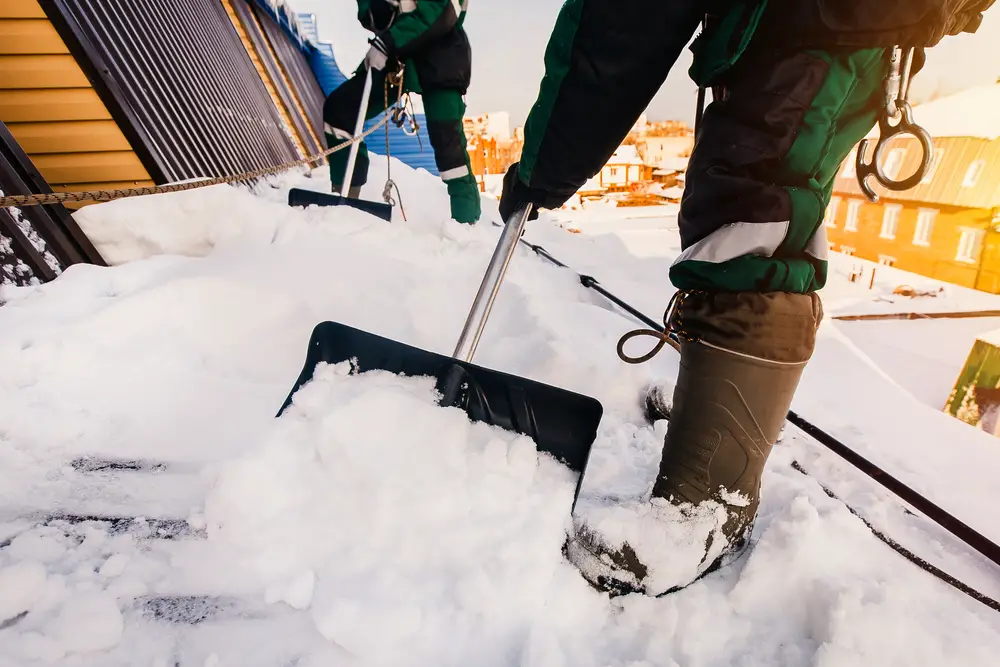
Roof jobs can be hazardous and, for the most part, should be left up to a professional roof snow removal service if possible. This is especially true for the winter, where snow and ice elevate the risk substantially.
However, removing some of the heavy snow load on the edges of your roof is still possible. You may be able to do so without climbing onto the roof or by cautiously climbing the roof if you have roof climbing experience, as long as you have the equipment. This may be enough for the time being if you just have a little snow accumulated on your roof or if the professionals can’t come for a couple of days.
Here are some main steps to consider when undertaking roof snow removal yourself.
1. Wear boots with a good grip.
Removing snow from your roof is all about safety, so you should first ensure that you wear boots with a good grip. Your boots should have excellent traction to ensure that you don’t slip off your ladder or roof while removing the snow.
2. Have your shovel ready.
Next, you need to choose the best shovel for the job.
You should not use a metal shovel to clean your roof snow load, as this can cause damage. Instead, opt for a plastic shovel to better protect the surface of your roof.
You also want to ensure that the shovel is the correct length to shovel your roof comfortably.
3. Place your ladder.
Now, place your ladder at the end of the roof to allow you to reach the snow and safely shovel it off. Keep in mind that you may need to move the ladder around if you have a large roof to access all around.
4. Cautiously climb the ladder.
Wearing your boots and with your shovel in hand, slowly and carefully climb your ladder to the top where you can reach the snow to start shoveling from the ladder, or from where you can safely climb onto the roof if that’s what you’re doing.
For this step, it’s a good idea to have someone on the ground to not only hold the ladder, but monitor whether people are passing while you’re removing the snow. They’ll also be able to move the ladder around while you maneuver your roof, eliminating the need to climb up and down every time you need to move.
5. Shovel the snow.
Finally comes the moment of truth – shoveling your roof.
Whether doing the edges from your ladder or doing so from your roof, safety is the most important thing to keep in mind when performing this task, followed by the structural integrity of your roof.
If you’re on your roof, move three feet from the edge and shovel the snow above the rim. This is primarily a safety precaution, giving you a slight cushion if you slip and fall.
When shoveling snow, ensure you are not accumulating it onto your roof. No matter how temporary, that extra weight may be too much for your roof to handle and cause structural damage. Instead, shovel it off your roof and onto the ground, looking at the spot before adding it to be sure that no one or nothing is in the way.
At the same time, ensure you are not shoveling the snow in front of any entryways into your home, such as a front or back door. Not only will you have to move the snow again once you get down, but it can also cause a safety risk to those inside your home.
Also, don’t scrape your roof clean of snow. Scraping your shovel against your roof may cause damage. Your roof can handle a thin layer of snow, so don’t be afraid to leave some on there. You should also avoid chipping at ice for both damage and safety reasons.
Once again, while you can try to shovel your roof yourself, professionals do it best. Let’s check out what to consider when hiring professionals for roof snow removal.
What to Know When Hiring Roof Snow Removal Services
While professionals know what they are doing when removing snow from your roof, you should know a few things to stay aware of the process.
First, while snow removal professionals almost always use a shovel, you may see them using other tools to remove the snow from your roof. These snow removal methods include:
- Rope: This is one of the easiest and cheapest ways to remove snow. This method involves pulling the snow off the roof with a rope. It’s one of the safest methods because you’re usually out of harm’s way from the snowfall while this happens.
- Wire: This is similar to the rope method, but the strength of the wire may deliver better results.
- Rake: This is a preferred method for many professionals. Just be sure that the material of your roof is strong enough to withstand the roof rake.
- Steam: Lately, many professionals have started using hot steam to melt snow off roofs. While this is a very efficient method, you just have to ensure that the melting snow doesn’t turn into ice on the roof, which may cause damage and prove a safety risk.
What’s more, you also want to ensure that your roof snow removal professionals do a thorough job and not only remove the snow from your roof but also your gutters and chimney to avoid too much accumulation and resulting damage to those areas.
Besides that, you should trust your roof snow removal professionals to get the job done. However, prevention is the most effective way to prevent damage to your roof from snow. Let’s look at how to prevent snow from accumulating on your roof.
How to Prevent Snow From Accumulating on Your Roof
Although it’s impossible to entirely prevent snow from gathering on your roof, there are steps you can take to minimize it and its effects. Here’s what you can do to have as little snowfall stay on your roof as possible.
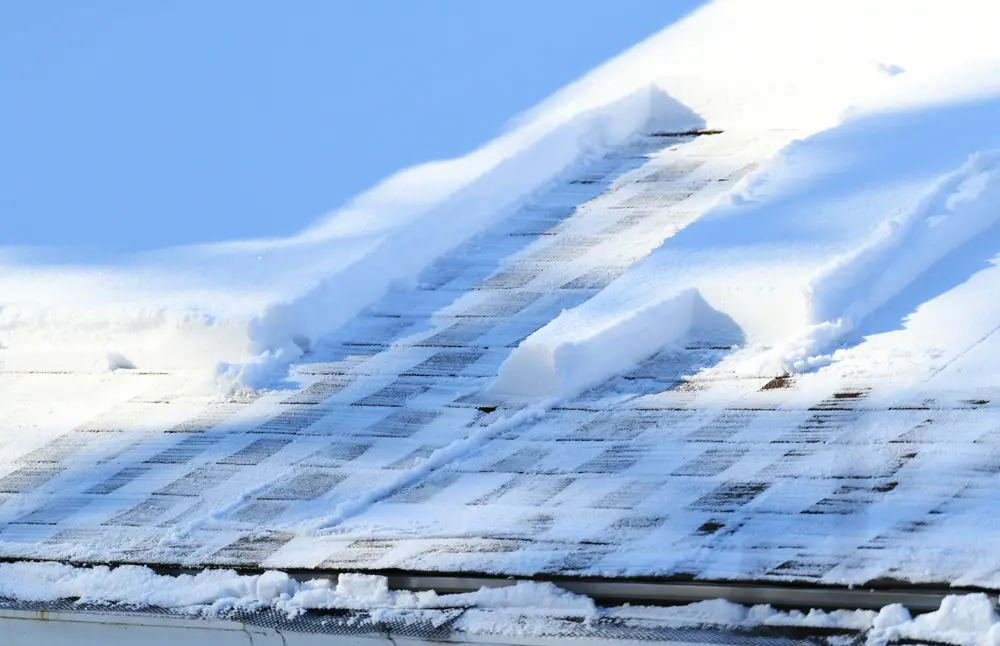
Get heat cables.
Heat cables are one of the most popular and effective snow prevention tools. These cables are wires laid on your roof that heat up during winter. As snow falls on these cables, the wires melt it, preventing the snow from accumulating on your roof.
There are a few things to keep in mind regarding heat cables. They take up a lot of electricity and are relatively expensive to maintain. Moreover, they can quickly become overwhelmed during heavy snowfall. They’re still a great tool to minimize the effects of accumulated snow on your roof.
Get a steep-pitch roof.
This is something to keep in mind if you’re thinking of purchasing a new house. Low-pitch roofs accumulate snow more, and the snow doesn’t run off as easily, which increases the need for snow removal.
Seek a home with a steep pitch to allow the snow to run off and avoid damage to your roof from the accumulation of snow.
Pay attention to the orientation of your house.
Again, if you’re in the market for a new home or planning new construction and are concerned about snow buildup, your best chance is to choose a home with an east-west orientation. This allows your roof to get as much sun as possible throughout the day for faster melting.
Recap: Roof Snow Removal Protects Your Roof and Yourself
There are a lot of fun adjustments to make to your home in the winter, such as winter decor, but other tasks are essential for the structural safety of your home, such as roof snow removal.
Roof snow removal is a dangerous but necessary task. The good news is that there are professionals out there who are dedicated to this task, so you usually won’t have to undertake it yourself.
If, however, you do choose to do your own roof snow removal, it’s essential to prioritize your safety. Make sure to keep these five steps in mind:
- Get proper footwear.
- Choose a good shovel.
- Have a sturdy ladder and helper.
- Take your time climbing the ladder.
- Be cautious while shoveling.