With summer quickly approaching, people are looking forward to returning to the outdoors and playing games. If you want to make the backyard fun even more entertaining, consider building a horseshoe pit. Playing horseshoes is fun for all ages, and making your own horseshoe court is a fun DIY project that comes together pretty quickly. Here are some of our favorite horseshoe pit ideas.
Horseshoe Pit Ideas
Building a horseshoe pit isn’t difficult, but each homeowner may want to put their own flair to their backyard space. After all, why not put your own personal touch on it?
Here are some basic ideas of what to incorporate into your own backyard horseshoe pit area.
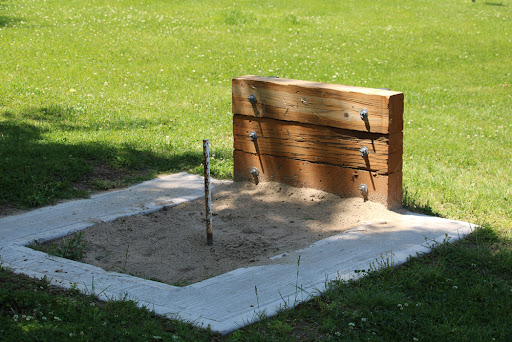
Backyard Beach Sandy
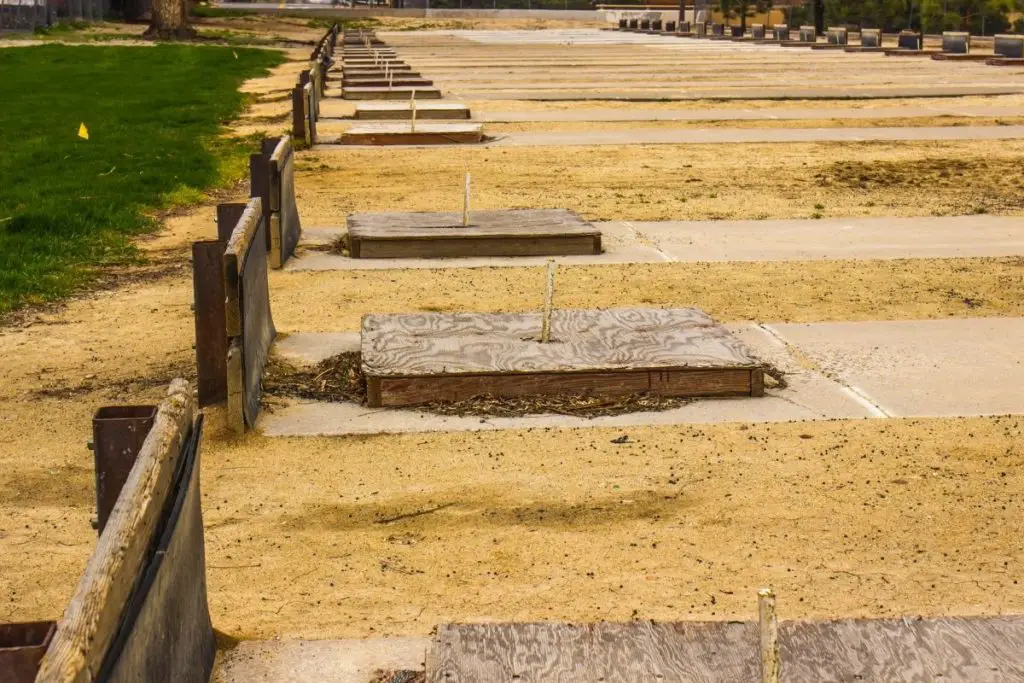
This idea involves constructing the basic horseshoe pit design using boards, sand, and a pole. Making the wood a medium shade allows it to pop against the grains of sand. Place gravel or stones on both sides of the box. Create a pathway punctuated with sand and large square stones or pavers for stepping on.
You can also add a bit of greenery on both sides as a color contrast to make this area a bit more vibrant.
Colorful Masonry Mayhem
Instead of a traditional box design, use a light beige brick for the backstop. Build it up three layers and cap it. For the sides, use a smaller brick and only line the area. Sink the bricks into the grass and provide a border to frame the area (box) and the play area running further down.
The bricks can be a light beige to match the back, or you can use a light pastel to add more color. Plant thick grass in the middle of the two borders to the baseline of the box. This is a great design for long, lush backyards as it showcases the green of the grass.
Long Green Gaming
This elongated design offers a wide sunken brick to define the play area. White is a great contrast to medium-to-dark green grass in the lawn, and the shape is an elongated, skinny rectangle. The horseshoe pit is a grey gravel pit with a pole in the center. Smaller bricks outline the front of the pit, bringing it together.
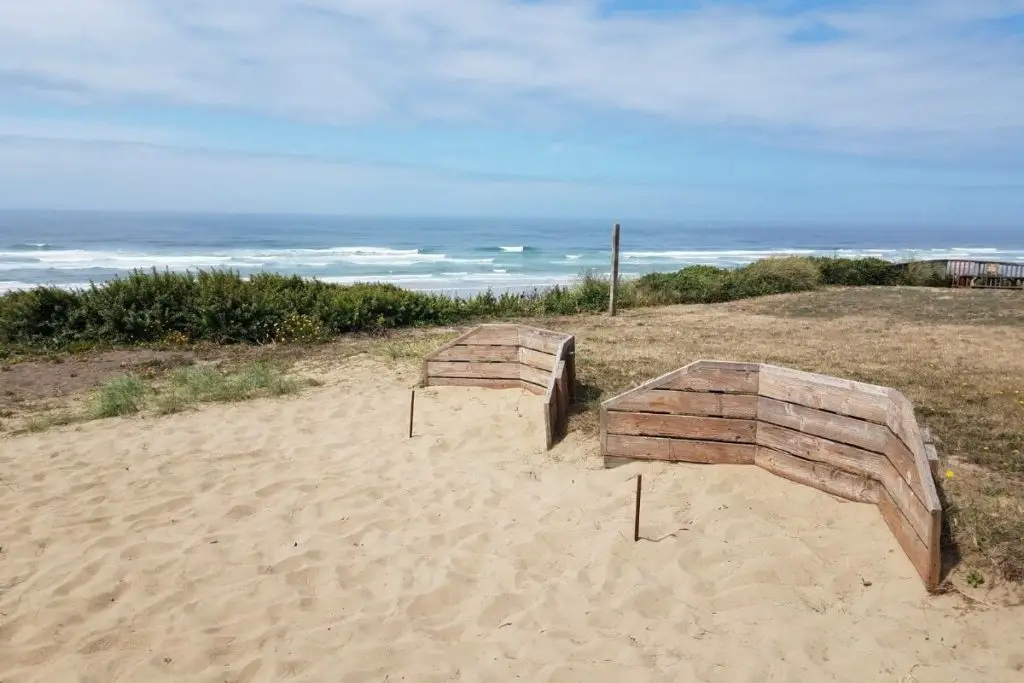
Double-Sided Delight
Take your horseshoe pit to the next level with this stylish double-sided design. For the box, bricks were placed in three layers at the back. Then, on both sides, the bricks go down to the front in steps. They are capped with a terracotta brick to add dimension and depth. The pole has medium-colored sand and is in an elongated circle with a border where the sand and grass meet.
This look is replicated on the other side, providing for continuous play.
7 Mistakes to Avoid
1. Incorrect Measurements
If you want to play a regulation game, you need to have the proper measurements. To use the right horseshoe pit dimensions, the distance between poles (stakes) should be 40 feet from end to end. Measure at the bottom of your exposed stake.
The stakes have a one-inch diameter and are made from cold-rolled steel. They are 15” high. Each stake can lean in at 2 inches per stake or a 78° angle.
Foul lines are 37 feet for men and 27 feet for women, and you should mark the foul line.
2. Wrong Location
You will need 48 feet of flat ground to build a horseshoe pit, giving you 40 feet for the pit and extra room for moving around. Avoid areas that may flood during winter or wet weather. Take into consideration the location of the sun in your outdoor space during the evening when you may be pitching. Keep it away from trees which can interfere with the pitching of the horseshoe.
If your location is windy, find an area that is more sheltered from the wind.
3. Too Dark
Horseshoe pits can pose a tripping hazard late at night. Make sure your area is well-illuminated to avoid potential injury. This will also prolong gameplay if you are playing at night.
4. Watch Where You Drill
When making the hole for the post, ensure there are no areas that are experiencing rot or where major cracks can occur. Also, work out your drill hole. If it is not done enough, the tie can crack when you’re pounding in the stake.
5. Bulging and Mushrooming
Before driving the metal stake into the block, be sure you are close to the line. Check the underside of your tie to ensure the block isn’t bulging. This indicates that you have gone too far. If you did, it can be quickly remedied by tapping the bottom flat and continuing.
Use a board or a similar item between the sledgehammer and the top of the post. This will prevent mushrooming at the top of your metal stake when you are pounding it.
6. Area Not Large Enough
The pit should be five to six inches in depth. This is best done in the spring when the topsoil easily separates. When doing the dig out, ensure it is large enough to set the frame a couple of times. Also, make sure the frame is level in each direction. It should be deep enough for the top of your tie to be flush with the first level of dig out.
7. Improper Lean
Measure your stake from the front of your court to the beginning of the stake. Be sure of this measurement by using your level to ensure the tie sits flat. It will make sure there is a proper lean. Then, pack dirt around it frequently and pack it around the assembly. Also, keep checking on the level as you pack in the dirt to ensure that it wasn’t inadvertently moved.
Final Words
There are many horseshoe pit ideas that you can incorporate into your home. They should be reflective of your personality, style, and taste. If you follow the above tips for constructing the area, you will have it up in a fraction of the time and prevent costly mistakes.