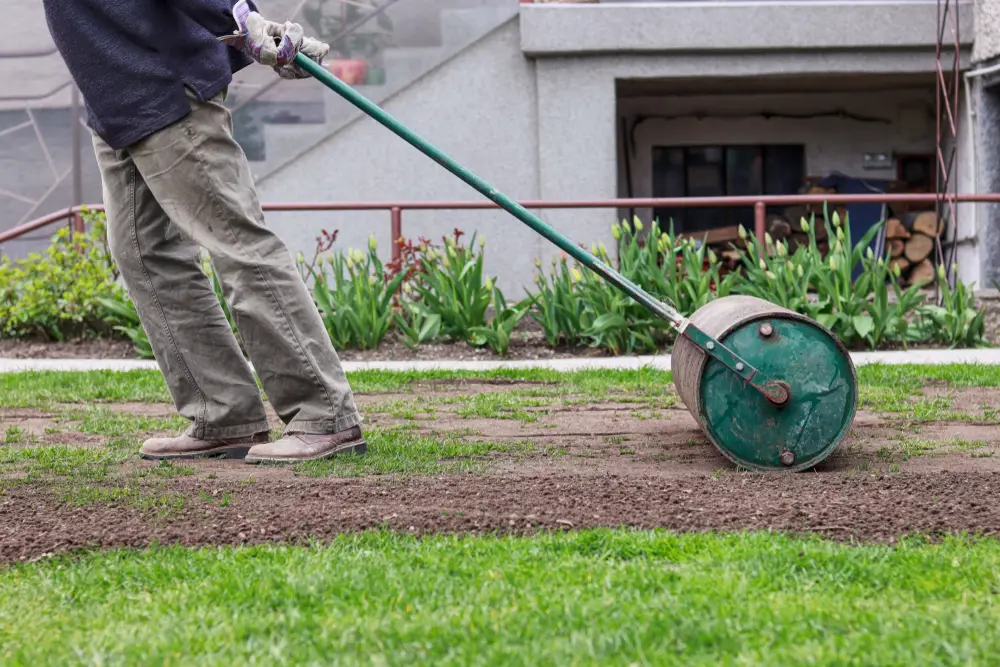
Have you noticed that your lawn has a few uneven spots? If so, then it may need to be leveled. Leveling is essential to keep your yard looking good, but not everyone does it as often as they should, which makes things worse.
Not sure what leveling is or how to go about it? You’ve come to the right place. Keep reading to learn how to level a yard, why it’s important, and more.
What Is Leveling?
Before learning how to level a yard, it’s a good idea first to understand what exactly leveling is.
Yard leveling is getting rid of the unevenness in your yard. It’s natural for even the most pristine lawns to slowly end up filled with dips and craters. The process happens so gradually that you don’t notice it until the damage is substantial.
There are many causes of an uneven yard. Sometimes it occurs naturally over time, while other times, it happens due to human or animal intervention. Here are a few of the most common causes of an uneven yard:
- Buried construction debris breaking down into the soil
- Animals digging in your yard
- Soil erosion from drainage
- Organic matter decaying
- Ruptured sewer line
It’s essential to look for signs that your lawn needs leveling early, as the earlier you spot this need, the easier it is to execute. Beyond that, spotting the problem early minimizes the risk of damage to your property from a lack of lawn leveling.
Let’s take a look at the reasons why you should learn how to level a yard.

Why Level a Yard?
There are several reasons why it’s important to level your yard. The top reason for many homeowners is to improve the aesthetic look of their yards.
An uneven lawn is often only noticed once it is visibly noticeable, at which point it may become an irritating sight to look at. It may clash with the aesthetic of the rest of your yard or even affect the position of things such as statues or your garden.
Leveling doesn’t only carry aesthetic benefits. It is also essential in protecting your home from water damage. Did you know that your lawn slopes gradually away from your home? This allows drain water to drain away from your foundation.
However, if your lawn has uneven areas, this natural slope is disturbed, causing drainage issues. Water may easily seep into your foundation or your house. This will substantially damage your home, including wooden floors and carpet. What’s more, it may also damage the exterior of your home, such as your garden or wooden deck.
Finally, an uneven yard can be dangerous, especially for children and pets who often run around backyards. Unevenness isn’t always apparent to the naked eye, so it’s easy to misstep and injure yourself due to uneven land.
Now that you know why it’s important to level your yard, it’s time to learn how to level a yard. Let’s start by discussing the tools you need to do this.
Tools Needed to Level a Yard
To learn how to level a yard, you need several tools. Here are the tools you’ll need to start:
- Landscaping rake: To break down the topsoil
- Lawnmower: To trim the grass to the desired level.
- Shovel: To dig up the soil (best for soft soil)
- Wheelbarrow: To transport heavy materials
- Broom: To ensure that leveling soil mix penetrates through the dirt
You may require more heavy-duty equipment depending on the state of your yard. This equipment may include a gardening tiller to break down the soil. A dethatching machine or thatch rake makes the job easier.
What’s more, you’ll also need some supplies to do the leveling itself. These supplies include:
- Compost: To help enrich the soil
- Sand: Can be used for leveling
- Topsoil: The final layer used in leveling your land
- Water: May be needed to moisten the ground
Now that you have your equipment and supplies, you’re ready to learn how to level a yard.
How to Level a Yard in 5 Easy Steps
Learning how to level a yard requires work, but it is a rather simple job. It helps when you have your tools and supplies ready to go from the beginning and know exactly what areas need to be leveled.
Without further ado, follow these five simple steps to learn how to level a yard.
1. Dethatch the lawn

This step may be optional, but it will deliver the best results. Dethatching improves the health of your grass and allows water and nutrients to penetrate the soil better.
You can dethatch your lawn using a dethatching power tool to save time or even hire a dethatching service to do it for you.
2. Create your leveling mix
Once you have prepared your lawn, it’s time to create your leveling mix.
You have a few options when it comes to creating this mix. Some people prefer to keep it simple and just combine topsoil and compost. However, it’s better for your lawn to include some drainage in the mix, such as sand.
You can use any topsoil and sand, but make sure that the compost you use is high quality, as this is where your lawn gets its nutrients.
3. Pour
Next, it’s time to pour your mix.
For best results, you shouldn’t pour too much of your mix over the sunken areas that need leveling because it may negatively impact the grass underneath. Instead, it’s a better idea to apply no more than an inch of your mix. This is the best way to do it to avoid having to spread more grass seed.
4. Rake the mix
Take your rake and rake over the mix to spread it out evenly.
For this step, you can also use a broom to ensure that your mix properly penetrates the ground through the dirt and that everything is evenly distributed.
5. Water the area
Once you’re done applying your leveling mix, it’s essential to water the area. This allows the mix to settle.
You don’t want to overwater and damage the grass. You also want to be gentle when watering so as not to wash away the top mix and have all of your hard work be for nothing.
Bonus Step – Patience!
After completing these steps, you’ll finally be on your way to a leveled yard. However, for your work to pay off, you need to be patient and take care of the leveled area.
You should avoid walking on the leveled area as much as possible. It may be a good idea to block it off with cones so that others avoid the area as well. It will take a few weeks for the mix to settle in fully.
What’s more, if after a few weeks, you see that the grass still isn’t leveled, you may need to repeat the process. You can repeat it as many times as necessary.

How to Level a Yard FAQ
What is the easiest way to level a yard?
The easiest way to level a yard is to use a lawn roller, rake, and shovel.
First, dig into the low spot, exposing the dirt under the grass. Fill any divots with the top dressing mix from there, then use the lawn roller or rake to level the lawn. That’s it; you’ve leveled your yard!
What’s the best type of dirt to level a yard?
A sand-soil mixture is the best type of soil for leveling lawns. A sand soil mixture not only levels your lawn, but it will also help it grow after leveling.
This option is better than putting pure sand in your lawn without additional nutrient-rich substance. The good thing about sand-soil combinations is that they have nutrients and can retain water.
Can topsoil be used to level a lawn?
Yes, topsoil can be used to level a yard. Put a thin turf and lawn topsoil layer over the affected area and spread it evenly. Compact the soil, then water the soil gently and leave it to settle in.
Wrap-Up: Get the Best Yard on the Block
Ensuring that your yard is leveled is not only important for aesthetic purposes but is also essential to maintain the health and safety of your yard. While you can hire a pro to do this, it’s a good idea to learn how to level your yard yourself.
Learning how to level a yard may be daunting at first, but it can be accomplished in just a few easy steps. The most crucial step, patience, is where you’ll see your hard work pay off!


