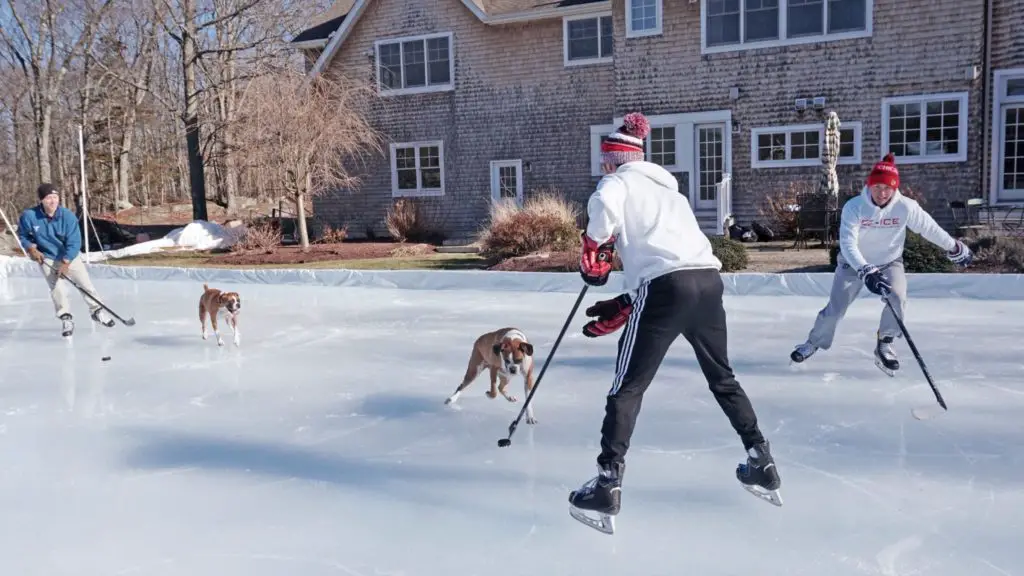
Cold weather marks the end of warm weather sports, often causing people to retreat indoors. However, with a bit of ingenuity and some elbow grease, it’s possible to turn your backyard into a winter sports wonderland. There’s no need to sit inside when you have a personal ice skating rink for hockey and to practice figure skating.
Not only is it good to get some fresh air, but it’s fun to switch up your routine and enjoy seasonal activities like this. Also, making a backyard ice skating rink is not as difficult as it seems. With the right tools and a weekend to work, you can make an enjoyable place to pass the winter outside. This guide will explain what you need to do to create a safe and fun DIY ice skating rink in your backyard.
By following these simple steps and maintenance routines, you can make a durable and long-lasting ice skating rink that the whole family can enjoy.
Location Selection
The ideal location for a backyard ice rink is on the most level part of your yard. This area should be also shaded to prevent any daytime melting. It’s more challenging to do this project on a steep slope since it requires freezing water. However, if there is just a slight slope, you can still work with the location.
The site should have enough space for your needs and be a safe place to skate. For example, don’t make it in the front yard or near a busy street. It’s also important to make sure that the rink won’t be placed over a septic or drain field. For everyone’s safety and convenience, the rink should be installed near a source of water and strong outdoor lighting.
Materials Required
Before you start the project, make sure you have all the required materials and at least one other person to help you. The amount of building materials required depends on the scale of your project and the slope of the property.
- 2″ x 4″ Wooden Boards. However, taller boards, such as 2″ x 6” boards may be needed to correct differences in slope.
- Rebar Stakes to secure each board against the expanding ice.
- White or Clear Tarp. Avoid dark tarp since it absorbs heat and can cause the ice to melt.
- Staple Gun and Staples to secure the tarp against the boards.
- Rink Topper (optional, for extra safety)
- Water Hose
Now that you have everything you need, set aside some time before the first frost to install the rink’s frame. Then, follow the remaining process to complete the rink when the weather is below freezing. Soon, the whole family will have a fun place to enjoy winter sports.
The Building Process
Every DIY ice skating rink can be built in 3 simple steps. It’s important to execute each step with care so that the final product is durable and safe.
Build the Rink’s Frame
When you plan the rink’s frame, you should make sure that the four corners are on the same level. Naturally, there will be some variation in levels in a standard backyard, so make sure that the boards you choose account for this height difference. Secure each plank with a rebar stake so that it doesn’t split open when the ice freezes during the final step.
For the best results, do this step a few weeks before the first frost so the ground is easier to work with. Use boards and anchors to create a fence-like frame that is strong enough to stay put after ice settles within it and expands.
Lay and Secure The Tarp
After the frame is secure, it’s time to lay the tarp. The tarp should be larger than what you need so you have enough material to be secured over the outer edge of the frame. To start, lay the tarp over the frame and push it down, smoothing it over the ground. Then, on the outside of the rink, cut the tarp a few inches below the edges of the outer frame so that you have just enough material to staple it into place. Finally, secure the tarp at least every 3 feet along the sides with the staple gun.
Fill the Rink with Water
Before you fill the rink with water, choose a time when the weather is expected to be below freezing over the next 48 hours. Then, spray water into the tarp until it is around 4 to 5 inches deep. Let the water freeze. When the rink is full, the lowest part should have a water level of at least 3 or 4 inches. Never let any water spill over the frame. Though there are conflicting filling methods online that suggest filling a rink in one-inch intervals, professional rink builders recommend filling the water all at once. Filling a rink in layers of water can damage the liner and cause uneven freezing.
- Pro tip: Don’t lay down the liner until you’re ready to fill it with water immediately. If you let it sit too long, sticks and rocks can get into the mix, which is dangerous when skaters pass over them unaware.
Maintenance
After skating or a snowstorm, it’s important to make the ice level again. Clear fresh snow with a broom, shovel, or snowblower. Then, use an ice resurfacer and a thin layer of hot water to create a smooth surface. After skating, you should also use an ice resurfacer and apply a layer of hot water. If a crack in the ice develops, put some ice shavings into the area and apply a light coat of water, then let it refreeze.
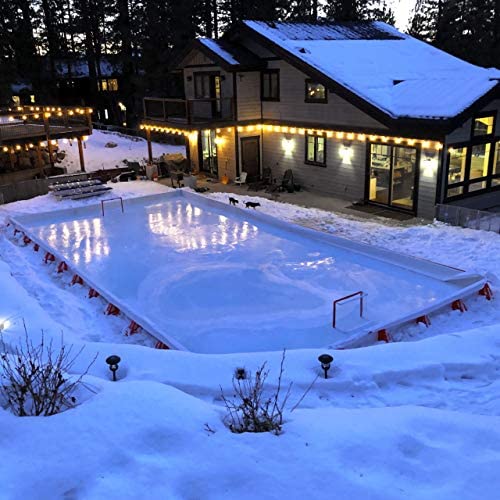
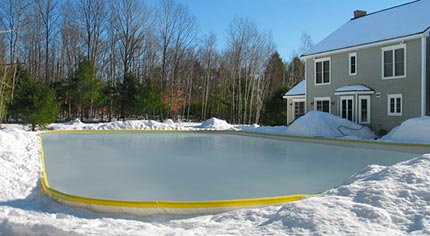
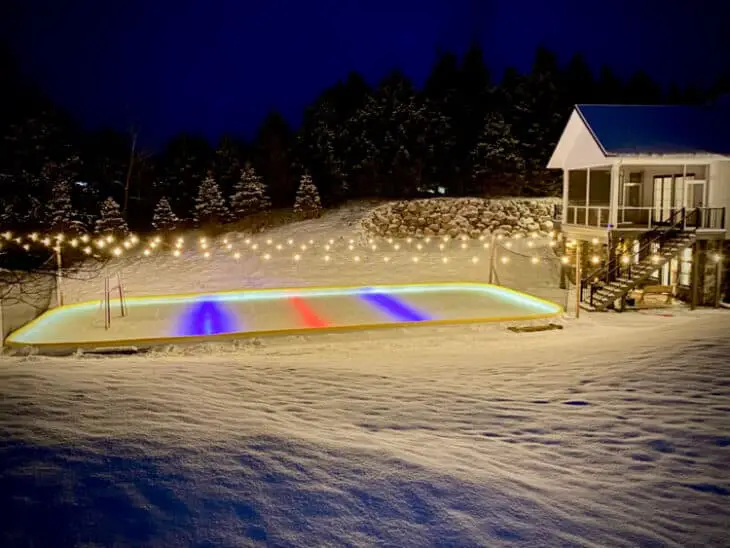
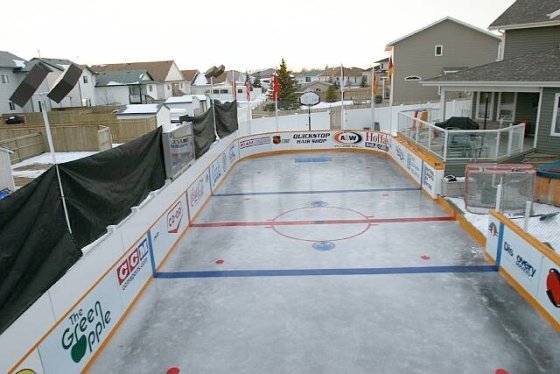
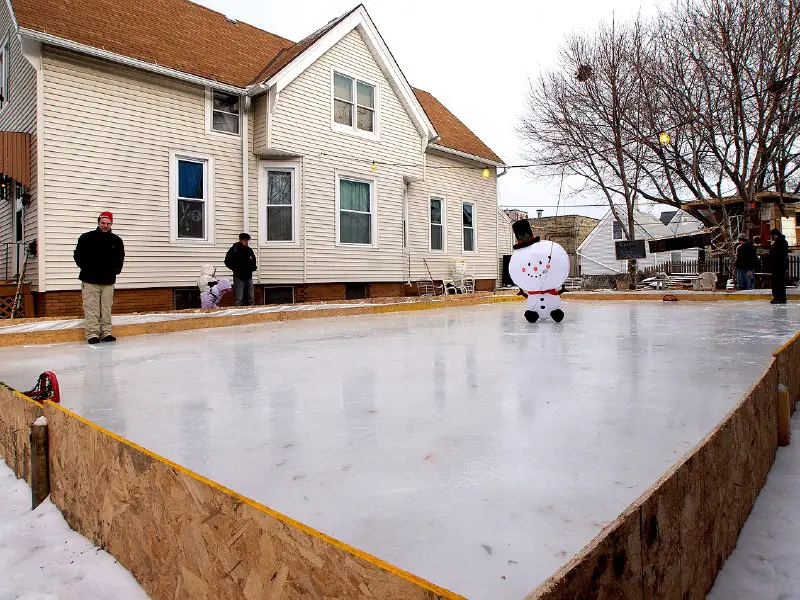
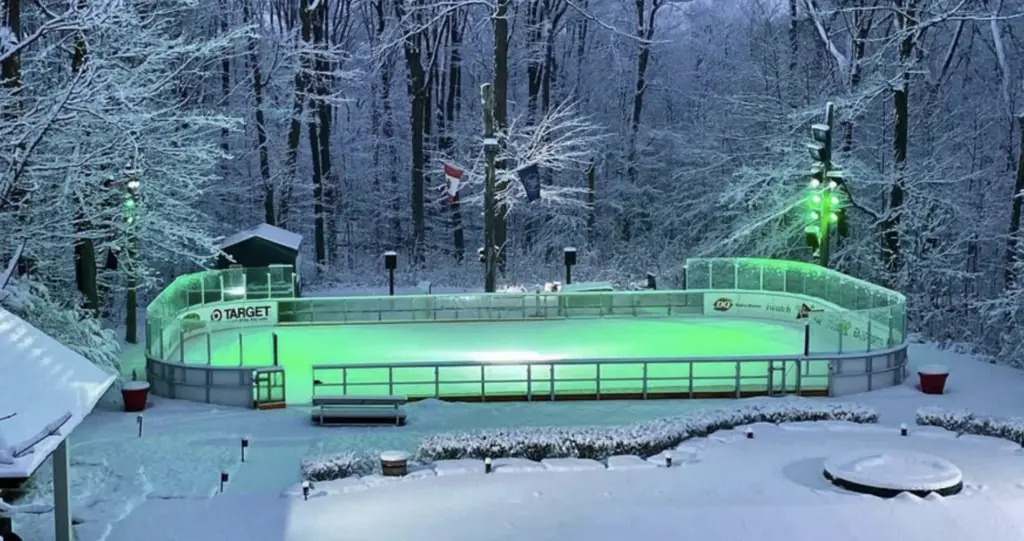
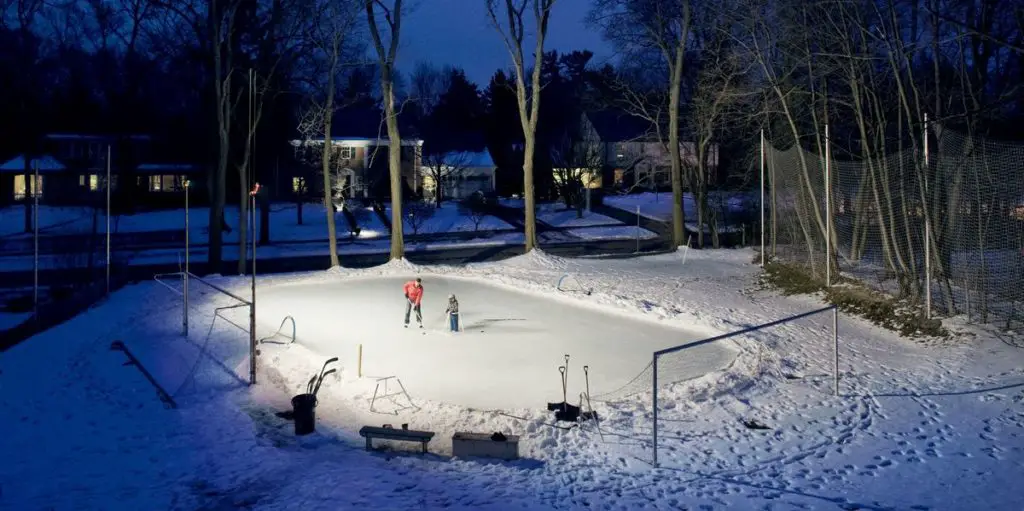
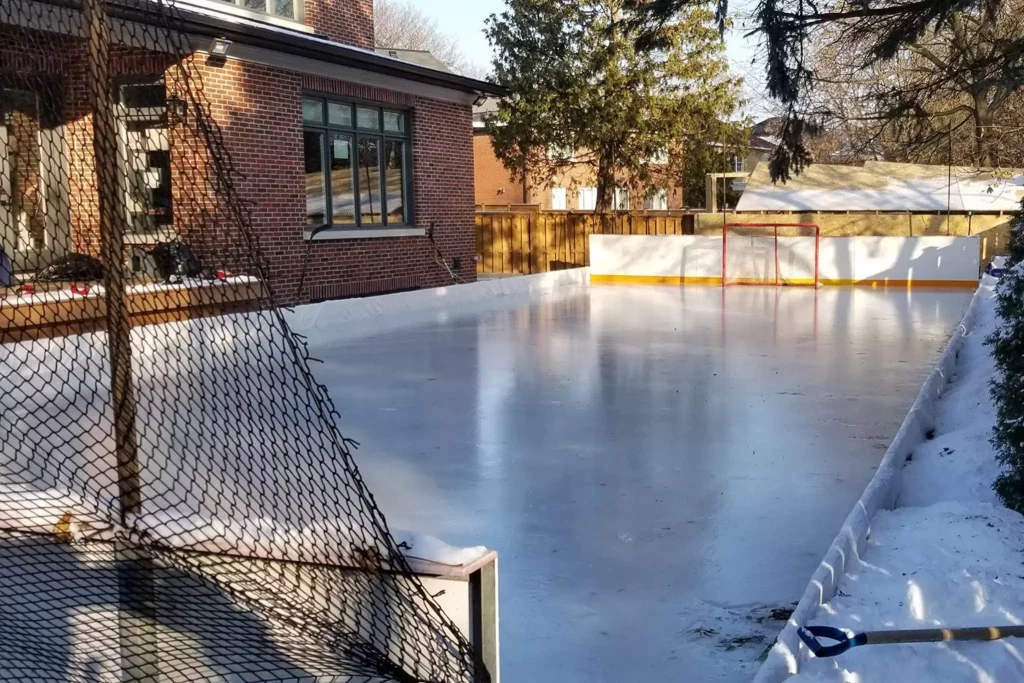
10 Amazing Backyard Examples
Tips for Success
Here are some tips from the pros to make this project go off without a hitch.
- Concerns about grass in the spring? Dismantle your rink right when spring comes. Removing the liner will allow your yard to naturally recover and grow grass. If you need help, use some grass seed or sod.
- Draining the rink can cause flooding when not done correctly. To direct water safely, use a simple siphon or a submersible pump.
- For the best results, build the frame in the days and weeks before the first freeze. The ground will be soft enough to work with. This allows the sideboards and bracing to settle in. Then, fill in the rink when there have been several days of below-freezing temperatures. The ground is now hard enough to handle the ice.
- If you find a hole in the liner, save it with a patch made of roofing tar or patch tape from companies that sell backyard ice rink products.
By following these tips you can build and maintain a safe and fun DIY ice rink that will help everyone enjoy the coldest season of the year.